
With a little time and elbow grease, you can construct an easy-to-use and satisfying chicken roost for your flock. There are many easy roost designs that you can create and hang for your birds.
Here are 4 ways to build a chicken roost depending on your preference:
1. Build with sticks for a natural feel.
2. Use pre-made poles for convenience.
3. Construct ladders for extra enrichment.
4. Create multi-pole designs for many chickens.
It’s incredibly straightforward to make a low-cost and easy chicken roost for your birds, so keep on reading for some excellent tips and tricks.
Quick Answer: How to Build a Chicken Roost
- Use a flat bar about 2 inches wide — a 2×4 mounted with the wide 4-inch side UP is ideal. Chickens roost flat-footed and squat down to cover their toes, which prevents winter frostbite.
- Allow 8–12 inches of roost space per bird (about 6 inches is the bare minimum) so the flock settles without crowding or bullying.
- Mount roosts higher than the nest boxes — chickens instinctively sleep at the highest point, so if the boxes sit higher they will sleep and poop in them and soil the eggs.
- Set bars about 18 inches to 2+ feet off the floor; go lower (around 18 in) for heavy or large breeds to avoid bumblefoot from hard landings. Space stacked bars ~12–18 in apart and at least 6 in from the wall.
- Skip round dowels, thin rods, and metal pipe — feet cannot lie flat or stay covered, and metal gets cold and slippery.
Chicken Roost Specs
| Spec | Guideline | Why |
|---|---|---|
| Perch space | 8–12 in per bird (~6 in minimum) | Room to roost flat-footed without crowding or pecking-order squabbles |
| Bar shape/width | Flat bar ~2 in wide; a 2×4 with the 4-in side UP | Birds squat to cover their feet, which prevents winter frostbite on toes |
| Avoid | No round dowels, thin rods, or metal pipe | Feet cannot rest flat or stay covered; metal is cold and slick (frostbite + fall risk) |
| Height off floor | ~18 in to 2+ ft; lower (~18 in) for heavy breeds | High roost suits instinct and ground-predator safety; lower spares heavy breeds from hard-landing bumblefoot |
| Height vs nest boxes | Above the nest boxes (~12 in higher) | Chickens roost at the highest point; if boxes are higher they sleep and poop in them |
| Spacing between stacked bars | ~12–18 in apart | Keeps upper birds from pooping on lower birds and leaves room to step up |
| Distance from wall | At least ~6 in | Room for tails and to settle without rubbing the wall |
4 Ways to Build a Chicken Roost
1. Build With Sticks for a Natural Feel
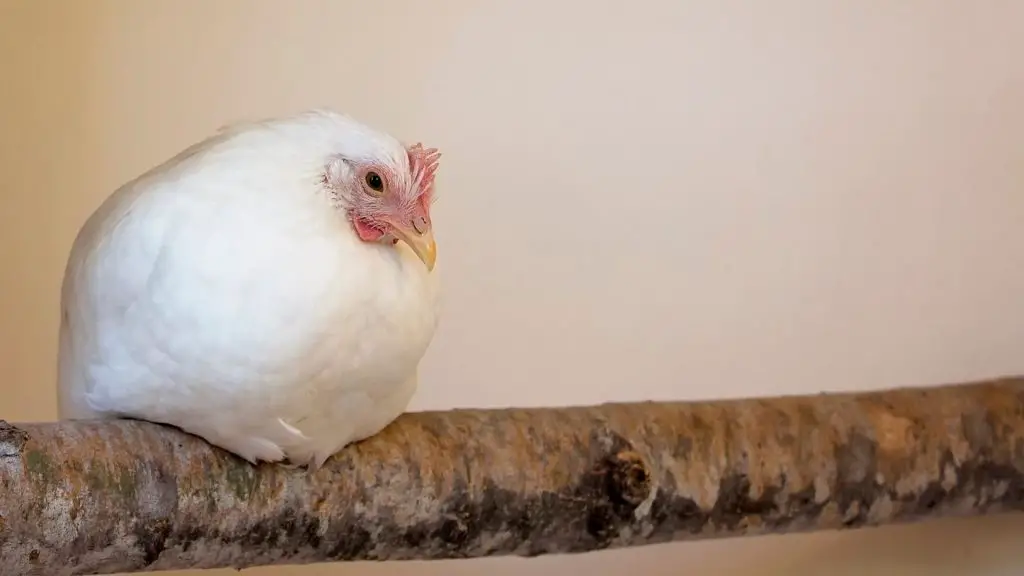
The most straightforward roost designs are sticks that you have anchored to the wall of your coop. They add a rustic and natural look to any coop or pen. They are also reminiscent of tree branches that chickens would use in the wild.
Things to remember in building chicken roost with sticks:
- Ensure the wood you’re using doesn’t have any damaged portions that could give your birds injuries or splinters. These minor injuries could seriously hurt or kill your bird if they aren’t treated. It’s best to avoid them before they ever happen.
- If you have to, smooth the woods with sandpaper and clean up the bark. Make sure to blunt any ends that could hurt your birds if they got caught on them.
- Make sure that the branches you’re using are stable and sturdy enough to hold all your birds, and the branch isn’t going to crumble under itself. Examine the wood for termites or other bugs that could eat away at the roost.
Cons of using natural sticks for chicken roost:
- One of the cons of natural stick roosts is that they can get destroyed by bugs or decay, depending on their age. It’s essential to examine your roost before you hang it up, just in case.
- Checking back on your stick roost frequently just to make sure it hasn’t gotten infected. If you will find unfamiliar wood shavings and holes in the roost, that means there may be a wood-boring or eating bug that has made its home there.
- Replacing stick roosts frequently, especially if you live in a humid area. Humidity can encourage moss, mold, and other hazards to grow on your stick roosts. These will all put your birds in danger in various ways.
- Moss can make the perch slippery, so your bird could fall and get hurt. Mold and mildew can lead to health issues and again make a perch slippery. Humidity can also rot out the wood, which can then break under your birds.
2. Use Pre-Made Poles for Convenience
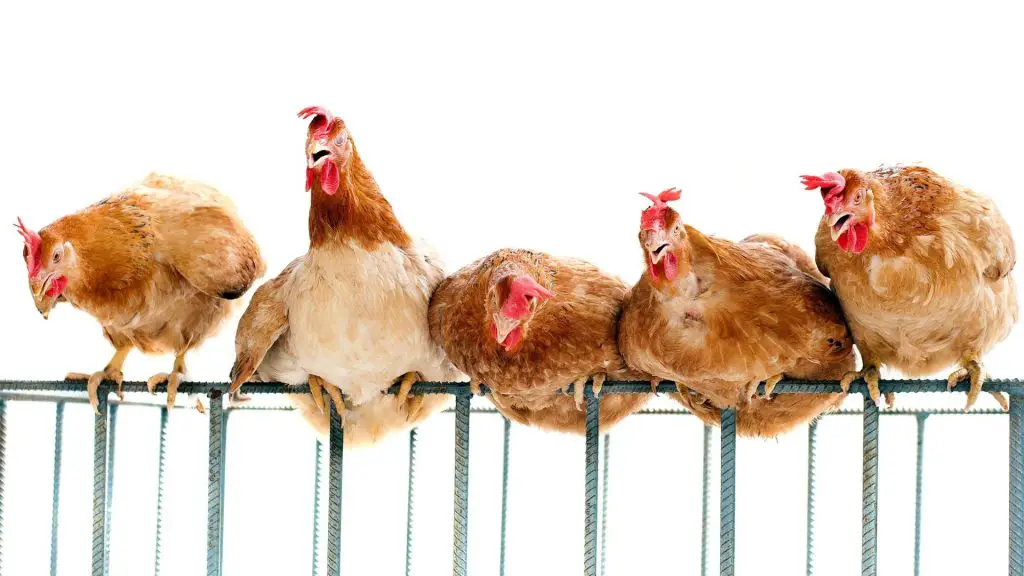
Pole designs are also very popular. These are simple, pre-made poles that you can anchor to the wall and set up immediately. They are a single line and are uniform all the way across. It could be dowels, planks, or piping you’ve installed.
These can be made of plastic, wood, or metal, but untreated wood is by far the best choice. Smooth plastic is slippery, and metal is both slippery and very cold in winter, which raises the risk of falls and frostbite because birds cannot grip it or keep their feet warm against it. If you must use a metal or plastic pole, resurface or wrap it and switch to a flat wooden bar as soon as you can.
These roosts can be easier to keep clean compared to other varieties. They can also be good if you need a quick and easy set-up process. Don’t use them for too long though.
One major drawback is that they can look plain and cause issues with your birds’ feet. If they are a perfect circle, they can cause problems with the curve of your birds’ feet.
You can resurface these poles or decorate them for a more natural design. Plain rods that are uniform all-around can cause medical issues later down the road. Make the roost varied, and you’ll avoid a lot of these issues.
3. Construct Ladders for Extra Enrichment
One of the most common complicated designs is a ladder setup. These are structured like flat ladders, and you can arrange or link them together.
These are a great design choice because they have multiple steps that your birds can climb up to get to their spot of choice. Linking these ladders together can also make your coop even more enriching for your birds.
They are also easier to construct and arrange. Below are the steps you need to do to build one:
Step 1: You need to get your hands on some plywood or planks and cut them to the size you want before securing the pieces together.
Step 2: Put the ladders around the coop and pen. Don’t put them right on top of each other; this could cause issues with spacing. Chickens can be very aggressive about their spot in the pecking order.
Step 3: You should array them near each other and around the pen evenly. If you want to link different parts together, you should build bridges to connect platforms.
Linked networks of ladders will give your birds a unique form of enrichment that they are sure to enjoy. In addition, the flat ladder rungs will be safe for your birds to roost on and suitable for their foot health.
4. Create Multi-Pole Designs for Many Chickens
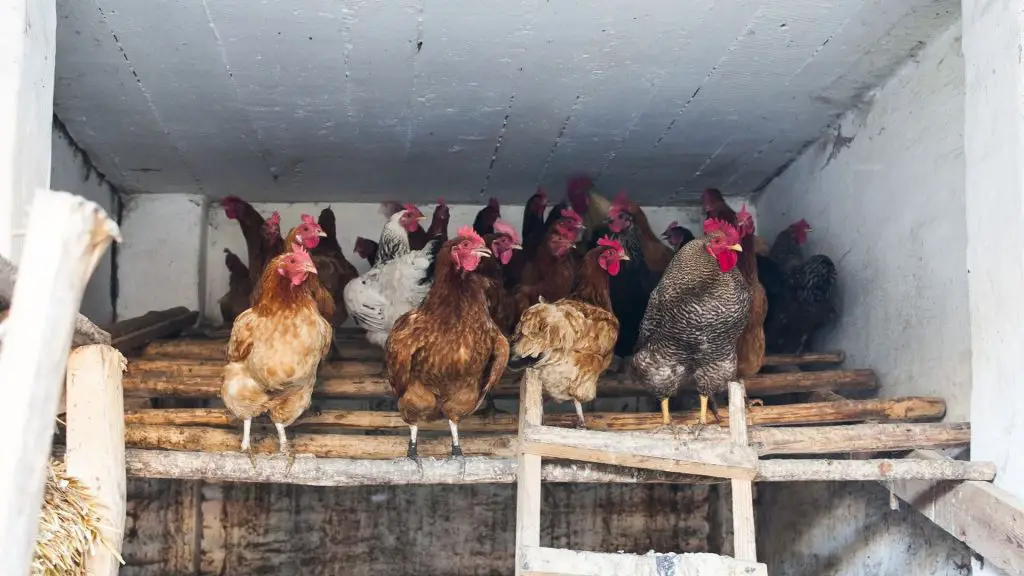
Multi-pole designs are also pretty standard. These are roosts that have multiple poles that your birds can choose between. This is ideal for large flocks and can support more birds moving around.
They can be arrayed however you like, but they are most often poles that you’ve put at all different levels. You can also attach them to a more substantial base to make sure they are stable and hold more bird weight.
If you use this variety, you should ensure that the poles aren’t too far or too close to each other. Too far, and your birds might not make the jump. Too close, and you could have birds on top of each other when they get comfortable for the night.
Use more intensive and load-bearing screws and bolts. You also need to make sure your birds aren’t going to collapse the roost when they jump onto it, as this could seriously injure them.
How High Should a Chicken Roost Be?
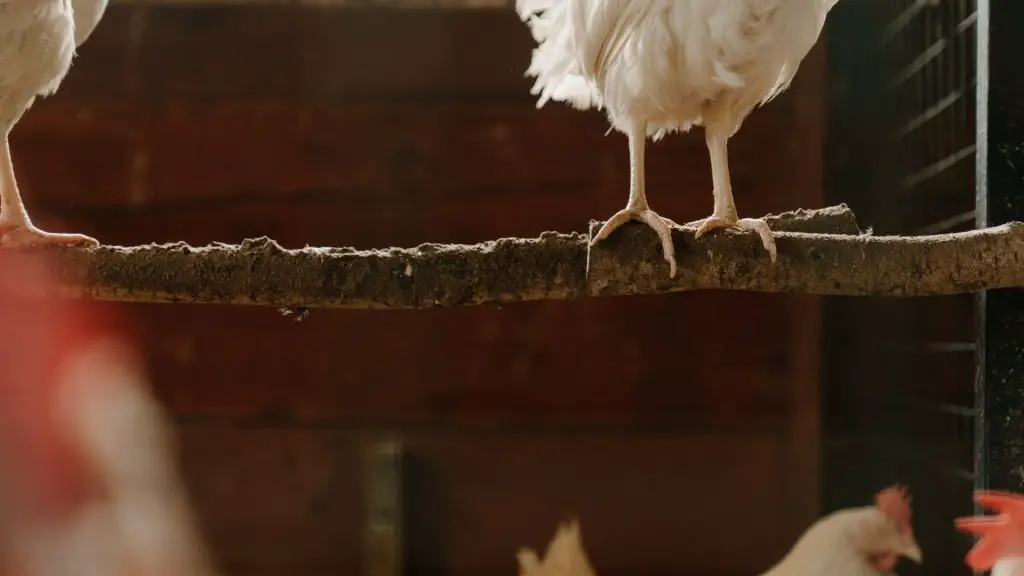
Mount the roost higher than the nest boxes and about 18 inches to 2 feet (or more) off the floor. Chickens instinctively settle on the highest spot at night, so a higher bar satisfies that drive and keeps them safer from ground predators. Higher is not always better, though: heavy or large breeds do best on lower roosts (around 18 inches) so they do not bruise their feet, a condition called bumblefoot, landing hard on the floor. Just ensure there’s enough room below the roof for them to fully stand and spread their wings.
This isn’t to say that your birds won’t also hang out on a lower roost. As long as there is a place for them to sleep off the ground, they will sleep there.
In the wild, chickens roost in trees and tall bushes. The higher they can roost, the better. Higher roosts are safer from predators like foxes, coyotes, and snakes that would otherwise eat them.
The most important thing is making sure that your birds have access to get up to their roost. They should have easy jumping points to get up and move around. Don’t space them too far apart, or your birds will have trouble navigating them.
If you have an entire chicken run, you should also put several roosts out in the pen for them to hop up onto when they are tired or want to hang up on a higher spot. Chickens take naps, too, and are very curious.
Roosts can also offer a way for your birds to get out of danger if something gets into the pen. Your birds will thank you for a safe place they can go if something happens.
Roosts in the pen area are also good for any birds who are getting bullied by the others in the flock. They will have a safe spot to go if they don’t feel comfortable.
Related: What Should Be Inside a Chicken Coop? | All You Need to Know!
Related Chicken Coop Guides
Building or running your coop? Here is the rest of our chicken-coop series:
- How to Make a Chicken Coop
- How to Make a Chicken Waterer
- How to Build a Chicken Feeder
- How Often to Change Coop Bedding
- How to Heat a Chicken Coop
- Where to Buy Chicken Coops
List of Sources
Backyard Poultry Egg Production: Know Your Chickens, Know Your Food
Nighttime Roosting Substrate Type and Height Among 4 Strains of Laying Hens in an Aviary System