
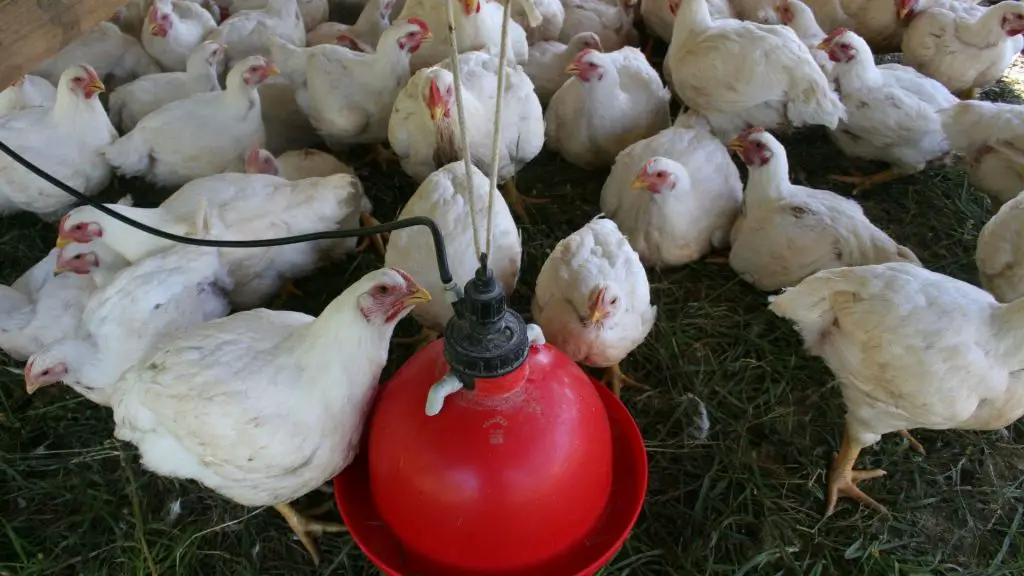
When raising chickens, you should provide them with dedicated chicken waterers that are easy for them to access. In this case, you can make a chicken waterer yourself.
How to make a chicken waterer? To make a chicken waterer, you can use a bucket and a tray. Building a chicken waterer yourself is relatively easy if you have all the materials ready, along with a constructive guide. It’s also important to remember that you should sanitize all the parts you’ll be using.
If you want to know more about how to make a chicken waterer, you’re in the right place. This article will also discuss how you can make your own automatic chicken waterer, how high you should hang a waterer, and how you clean them. So keep on reading!
How to Make Your Own Chicken Waterer?
Every chicken needs 1 to 2 cups of water per day — that’s a lot, so make sure they can get to it at all times.
You can make simple chicken waterers with parts from any hardware store. But just ensure all of the pieces are clean and ready to go before construction.
An easy way to make a chicken waterer is by using a bucket with a tray. It’s one of the most uncomplicated designs and with the least cost. Here are steps to making one:
Step 1: Take a bucket as large as you need and open a hole in the side of it near the bottom.
Step 2: Place the bucket in a watertight tray.
Step 3: Fill the bucket and turn the bucket over into the tray. Ensure there’s room for your birds to drink from. It can help weigh down the bucket with rocks or other dense and heavy material so your birds can’t knock it over.
It can be hard to keep the water clean for more extended periods since chickens kick up debris, contaminating the water. One of the primary ways that chickens investigate the world is by scratching the ground and kicking things up that they can pick through.
This means if chickens scratch near the water source, they can kick poop, food remnants, bedding, and anything else in the chicken run into the water. So check on your birds’ water levels often if you use this version.
Alternatively, you can use a closed system like a waterer with nipples to prevent birds from getting debris into the waterer.
How to Build a Chicken Waterer With Nipples?

If you follow the same steps discussed in the first section, you should make one with nipples. To build a chicken waterer with nipples, do this:
Step 1: Use a bucket with a tray and waterer nipples purchasable from your local feed store or Amazon.
Step 2: Instead of cutting a hole in the bottom, pick a spot where your birds can reach the shoulder.
Step 3: Attach a pipe to the tube and firmly seal it.
Step 4: Then, attach another joint line and put the nipples on it. You should find a multi-path pipe that can accommodate multiple nipples.
The most challenging part of making a nipple waterer is ensuring your birds will use the waterer as intended.
Chicks tend to have an easier time picking it up if they know nothing else, but older birds may need to be coached before getting used to the new system. Keep an open watering option nearby until your birds get used to the nipple waterer.
Another con of waterers with nipples is that they can be harder to clean and keep sanitary. However, if you maintain a consistent and frequent cleaning habit, you can keep your birds happy, healthy, and well-hydrated.
How to Make a Homemade Automatic Chicken Waterer?
To make a homemade automatic chicken waterer, you’ll need a sturdy hose and nuts to ensure nothing comes loose. You may also want to consider some kind of weight system to monitor the water levels if you want a more high-tech chicken waterer.
An automatic chicken waterer operates by adding more water to a container when the level lowers. Sometimes, it can be controlled by a weight system that monitors the water pressure and adds water accordingly.
Follow the steps below to make an automatic chicken waterer at home:
Step 1: Follow the exact design instructions discussed earlier.
Step 2: You can hook up a hose to the bucket so that all you have to do is turn on the water source. This makes refilling the container easier without ever having to enter the coop.
Step 3: Make sure that the hose is tightly secured to the bucket. It’s best to seal it permanently to the bucket with a plumber’s caulk or another sealant. This will ensure that your waterer stays contained and that your birds won’t get soaked if the hose comes loose.
This is a straightforward way to make an automatic chicken waterer. However, it has some disadvantages.
Like the other simple designs, it can be hard to keep this form clean. The debris kick-ups can also be a problem. However, you can get around this by connecting your hose to a nipple waterer.
You could also run into issues if you don’t check on your birds enough while using it. Always check on their water consistently, and make sure that it stays as clean as possible.
How High Do You Hang a Chicken Waterer?

Hang your waterer at the level your chickens can easily reach. In general, that should be at your chicken’s shoulder height. If you have chicks, you should move the chicken waterer higher as the chickens grow.
Keep the chicken waterer as high as possible to make sure that the water stays clean. Chickens kick up a lot of dirt and bedding in the process of living in the area. If you use a bucket watering system, ensure that the water is higher off the ground than other types.
Nipple waterers tend to stay cleaner from chicken mess than other types but can be harder to clean when going through your regular cleaning process. Ensure they’re up off the ground and away from other hazards.
How to Keep PVC Chicken Waterer From Freezing?
You can insulate the chicken waterer and make sure that the inside of your coop isn’t too cold to ensure your PVC chicken waterer doesn’t freeze. Perhaps add a heater inside the water tank or heat the pipes to keep them from freezing.
If you live somewhere cold enough to freeze water in the pipes, you must take proper precautions to ensure your birds have access to all the water they need.
However, be careful with how high you set the heaters. Chickens need their water to stay between 50 and 80 degrees Fahrenheit (10 to 27 degrees Celsius). Otherwise, they won’t drink it. You could also risk hurting your birds if it’s too hot.
How to Clean Chicken Waterer?
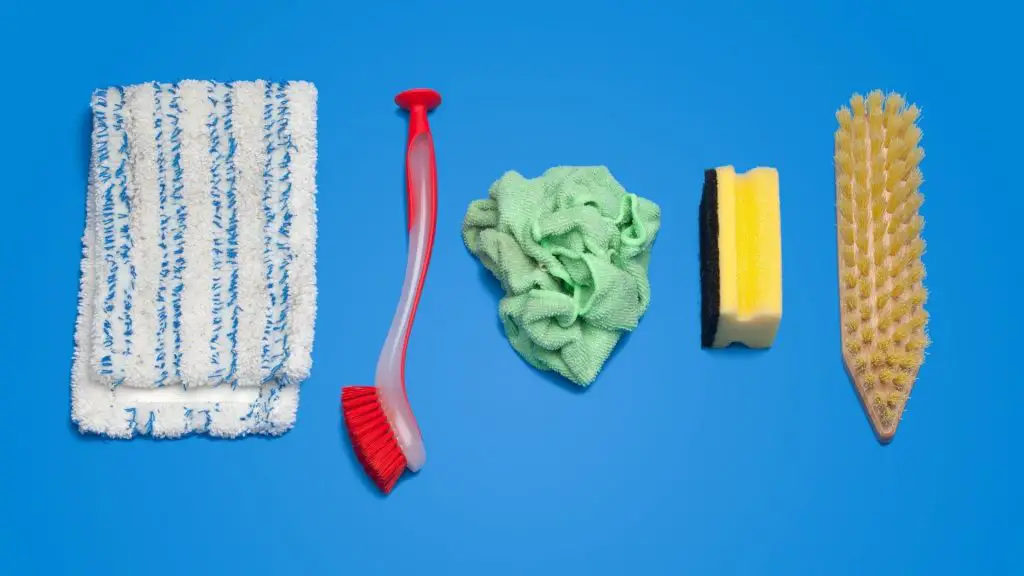
To clean a chicken waterer, use a gentle and animal-safe cleaner and a clean scrub brush. You can also treat your chicken’s water with a diluted bleach mixture to prevent algae from growing. Ensure you thoroughly sanitize the water bucket and clean it out so your birds aren’t going to get hurt.
Keeping your birds’ water clean is crucial for their health and safety. Many bacteria and viruses are transmittable through unclean water and can get into chickens’ eggs. It’s best to clean your chickens’ water and water container often, ideally, once a week.
If you have chicks, you should keep them even cleaner. Chicks don’t have strong immune systems to fight bacteria and viruses in the same way that older birds can.
Always clean your chickens’ water whenever it gets dirty. For example, if you have a tray waterer, keep the water clear and free of debris that the birds may have kicked up. It’s always better to ‘waste’ water than get your birds sick.
Related: Chicken Water: All You Need to Know