Many chicken farmers are looking for more ways to be innovative, and having a chicken tractor is one great way of doing it. Some may use chicken tractors to allow easy movement and give chickens full access to grass and dirt. If you’re wondering how you can build your own chicken tractor, this article got you covered.
Here’s how you can build a chicken tractor:
1. Start with a single wooden frame.
2. Consider adding wheels, especially for larger models.
3. Add a nesting area for safety.
4. Ensure that you have an open area with no bottom.
The following sections will take a look at each step in a little more detail and get you ready to build your own chicken tractor.
What Is a Chicken Tractor?

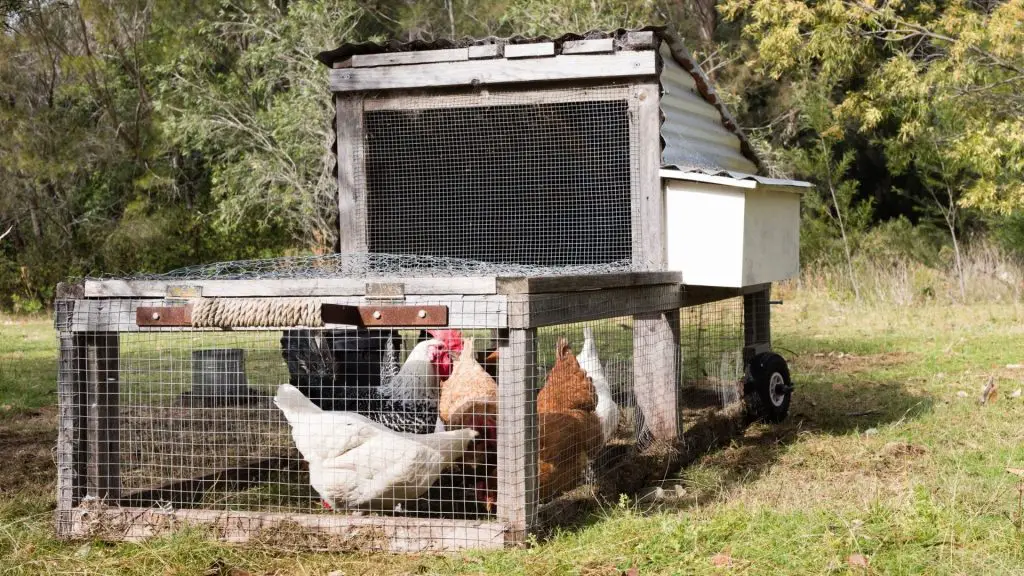
A chicken tractor is a mobile chicken coop that allows chickens to be exposed to new areas and farmers to benefit from the chickens’ digging habits. Many chickens feed on insects after digging for them, which helps prevent damaging plants and crops, allowing farmers to keep pests at bay. Chickens also dig up and eat unwanted plants that may also help fix problems for farmers. These chickens can be served as natural pesticides, so this is where a chicken tractor comes in.
Chicken tractors are becoming very popular as farmers continue to recognize how chickens can help their farms.
As you know, leaving your chickens out in a field or fence uncovered is dangerous. They can escape, or something can quickly get to them and hurt them. A chicken tractor provides the same protection as a coop, allowing farmers to move chickens around their property and dig through weeds or eat pests as needed.
Whether you build your chicken tractor with or without wheels, it’ll be a handy on-the-go method of clearing problem areas and ensuring your chickens have fresh grass to pick at. With the added benefit of mobility, a chicken tractor is essential for any farmer.
If you want the benefits of a chicken tractor, here are the steps to building one.
Steps on How to Build a Chicken Tractor
1. Start With a Single Wooden Frame

This frame will determine the size of your chicken tractor, so make sure you have a design in mind before you start. If you aren’t going to include wheels, then your frame becomes even more important.
- Creating ski-type feature: Be sure you can slide your frame across surfaces successfully, or you may damage your grass. The simplest way to do this is to create a ski-type feature. Having a bottom frame that curves upward in the front will help it move a lot easier and prevent a lot of damage to your yard. Think of it like a sleigh. Curved edges will help it move more smoothly across all surfaces.
- Building the frame: You also want to consider the design you have in mind. Rectangular will be the easiest shape to build because it won’t require too much planning or stress to pull off. Others sometimes choose to try other shapes like triangular or square depending on what fits best with their setup.
- Planning the size of the frame: It’s important to understand that the frame won’t account for the entire weight as you’ll be adding more. You want to make sure that you can move and control the coop for it to be useful. Otherwise, it’ll just be an ordinary, immovable chicken coop.
- Final step of creating your frame: You have to give yourself something to pull on for leverage when moving the chicken tractor. This is necessary for those with and without wheels. Consider a chain or even a pulley from a wagon to accomplish this. Just make sure it is strong enough to withstand the strength needed to pull the chicken tractor along, even in rough terrain.
2. Consider Adding Wheels, Especially for Larger Models

The main idea of a chicken tractor is to move it around, and it’s hard to accomplish this with big, heavy coops. If you want a bigger chicken tractor, that’s perfectly fine, but you may want to add wheels so that you can move it around without struggling.
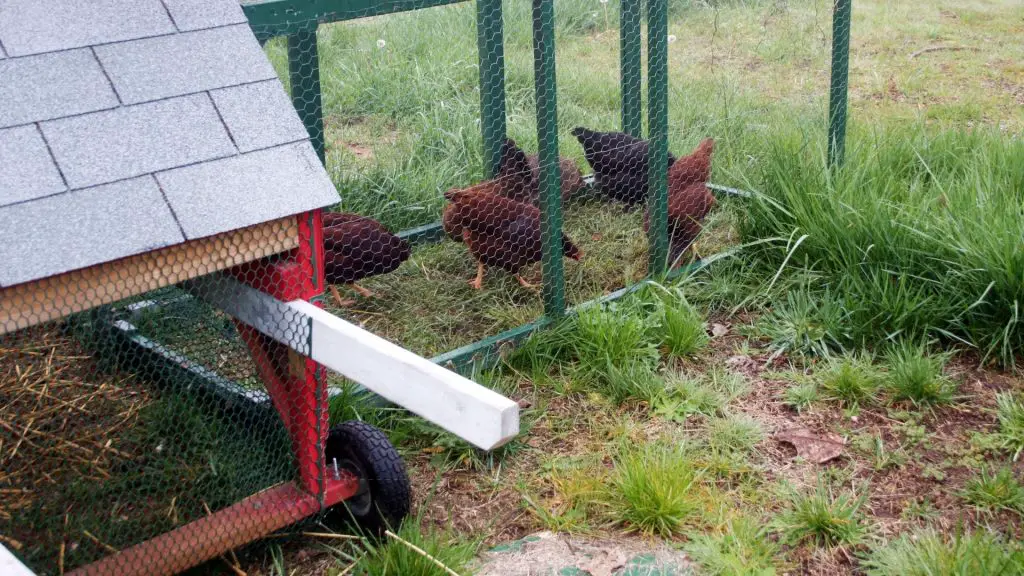
Four wheels on a rectangular shape are the easiest way to ensure decent movement, but wheels can also be done for many different shapes.
Remember that the wheels are there to help you move the coop. So, you don’t want to get too crazy with the design and have them not work properly.
If you’re considering wheels for your chicken tractor, then you may want to decide what size of wheels you will need. Smaller wheels like those made for lawn mowers or wheelbarrows will do just fine for most chicken tractor sizes.
However, if you want to make a very large tractor, you’ll need to consider larger wheels to support it properly. These large tires can come from a tractor or even a car, depending on the size you will need. Though, most chicken tractors are going to work fine with smaller wheels.
Wheels are a handy way to ensure that you can move the coop around without struggling, but it will be a problem if you will install wheels that don’t carry the coop just right off the ground. You want your chickens to be able to spend time in the grass, but at the same time, you don’t want them to escape or a predator to get in.
So, make sure you will use wheels that aren’t too big and position them to allow the coop to be as low to the ground as possible.
There will be a part of your chicken tractor that isn’t exposed to the ground, so some people choose to put the wheels on that end and allow the coop to rest a little crooked. This should prevent anything from getting in or out of the grassy area.
3. Add a Nesting Area for Safety

Just like an ordinary chicken coop, a chicken tractor requires a nesting area to keep your chickens safe and warm where they can lay eggs and sleep. This should be weather-proof and predator-proof to keep your chickens and their eggs safe.
Remember when building this section that you need to have access to it to clean it regularly and get the eggs. However, this should be a hatch or a solid door that can be closed and latched.
When planning your sizing, consider that each chicken you have needs to fit in here comfortably when it gets cold or when there is a potential threat. This means that you will need to make sure it’s large enough to accommodate them.
If you’re thinking about getting more chickens in the future, remember that bigger is better for the nesting area.
Related: How to Build Chicken Nesting Boxes? | A Detailed Guide
4. Ensure That You Have an Open Area With No Bottom

The best part about a chicken tractor is that you can move your chickens to new areas and allow them to roam on fresh grass. So, make sure you take advantage of this by adding an open area for them to explore.
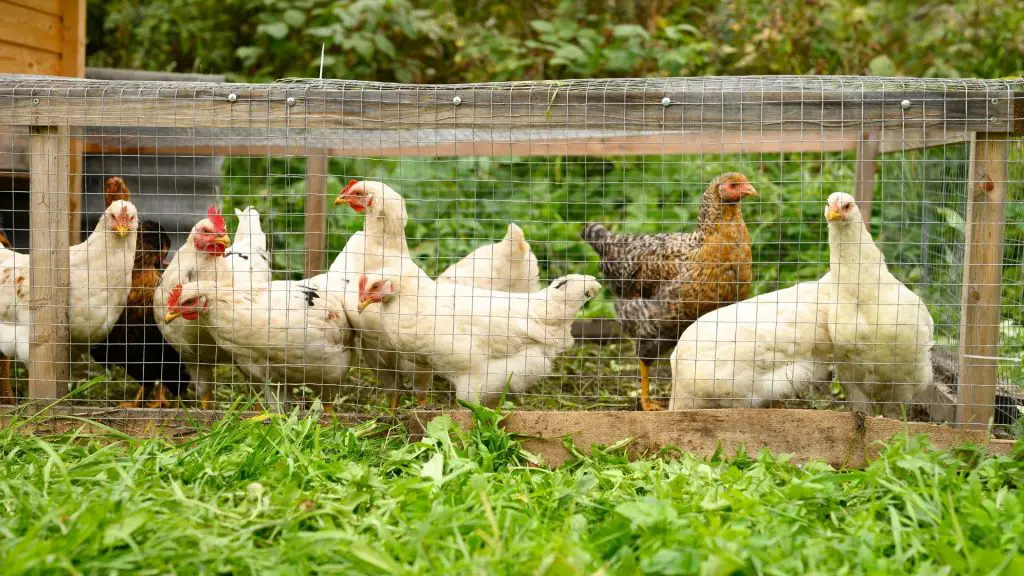
Now, remember that this doesn’t mean the area should be completely open. Make sure you’re securing it with wire mesh or fencing so they can’t escape, and nothing can get in there to harm them. But leave the floor open to allow access to the grass.
If you have a large open area, you may want to consider the shading portions of it for when the weather gets warm. Your chickens don’t want to be cooped up in the nesting area on hot days. So, give them some shade to allow full access to the open area, even on long summer days.
How to Attach Wheels to a Chicken Tractor?
If you want a large chicken tractor, then wheels are a must. In order to do it, follow the instructions below:
Step 1: Start by propping up the chicken tractor between half an inch and one inch off the ground. It is the most space advisable to allow at the bottom. This ensures there isn’t too much extra space for chickens to get out or predators to get in. Otherwise, your chickens may not be safe.
Step 2: Once you have it propped, begin attaching the wheels to the front and back parts of the frame. Propping primarily ensures that the frame is even and not tilted after attaching the wheels.
Step 3: Once you’ve attached the wheels with nuts, bolts, and washers, make sure you do some measuring to ensure the wheels are even and the chicken tractor is flat.
Related: Where to Buy Chicken Coops? | Check Before Buying!
List of Sources
Designing a Mobile Chicken Coop
