
Nesting boxes for chickens are a great way to give chickens a spot to lay eggs in seclusion. Although there are many different designs for nesting boxes, making an effective one is very simple.
Here’s how to build chicken nesting boxes:
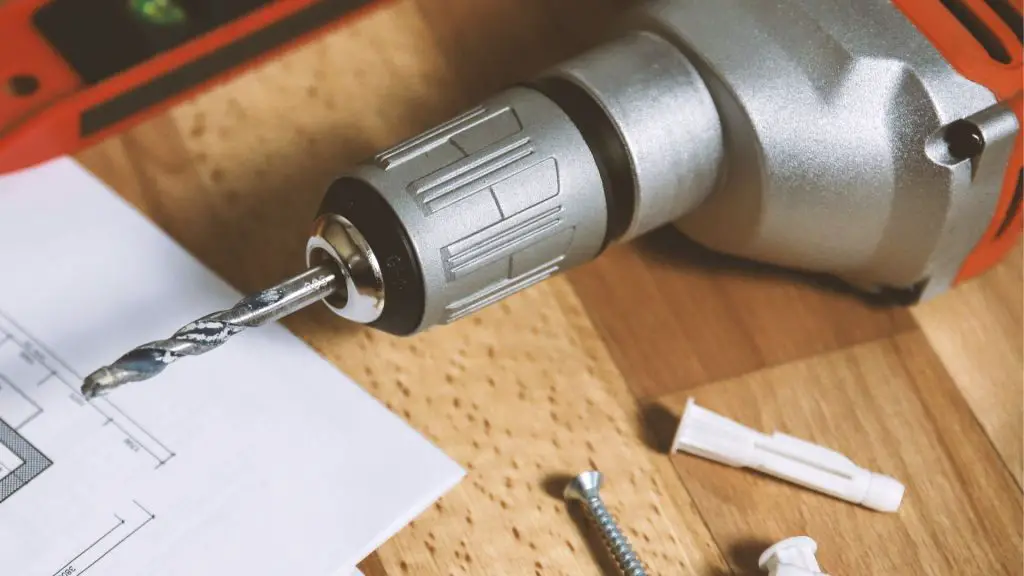
1. Gather the tools, including wood, screws, and drill.
2. Find a spot that’s accessible to your chickens.
3. Make one box per four hens.
4. Screw three panels to the sides of the floorboard.
5. Add the roof board to make a cube.
6. Attach the last panel to the open side.
This article will outline the necessary materials for building a chicken nesting box, the steps to building it, what to put inside, and how to choose the best bedding.
Steps on Building Chicken Nesting Boxes
1. Gather the Tools, Including Wood, Screws, and Drill
Before getting started with the nesting box design, it’s important to understand the necessary materials.
This tutorial will show you how to build a standard 12x12x12 inch (30x30x30 cm) nesting box.
Here are some of the essential materials needed:
- Wood, screws, and a drill: These are simple yet essential materials.
- Five half-inch (1.27 cm) cedar panels that are 12 inches by 12 inches (30×30 cm). The nesting boxes will form a cube with an entrance for the chicken, so these materials will just act as the basic structure.
- A cedar panel that is 4-6 inches (10-15 cm) tall and 12 inches (30 cm) wide. This piece will act as an entrance for the chicken. It will give seclusion to the chickens when they are laying eggs, and it will help to ensure that eggs don’t roll out of the nesting box.
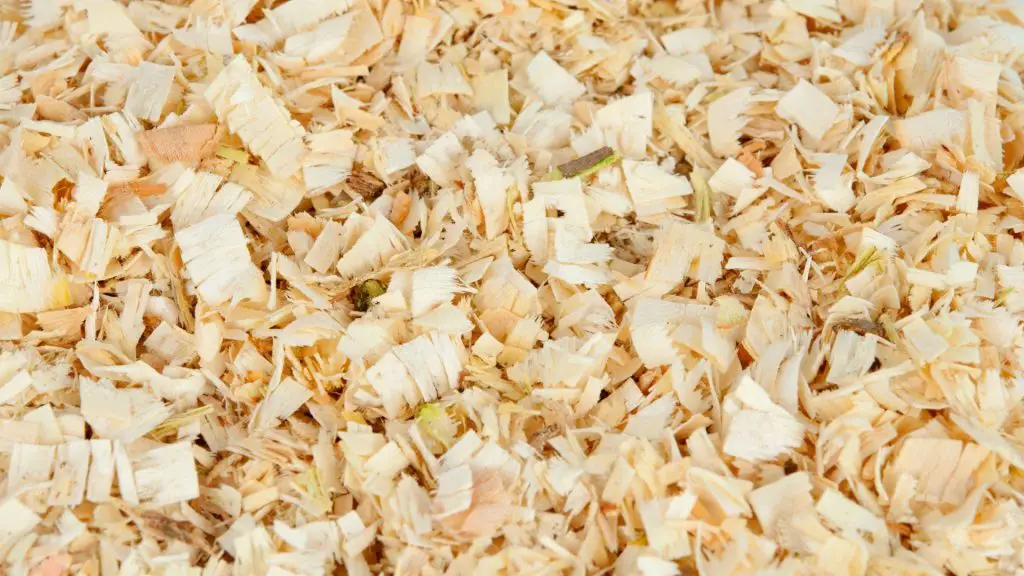
- Wood shavings or hay to line the nesting box. This will be the bedding for the nesting box, which is essential for egg-laying.
2. Find a Spot That’s Accessible to Your Chickens
When it comes to nesting boxes, know that there isn’t one rule for all nesting boxes. They come in different shapes, sizes, and colors and can be built in various ways.
The first step in building is to find the right location for your nesting box. Make sure that the spot isn’t more than 18 inches (45 cm) off the ground so that it’s easily accessible to your chickens.
3. Make One Box per Four Hens

A good rule of thumb when building is this: make one nesting box for every four hens.
Though you could fit more hens in one box, it is vital to give them the space they need if you want them to produce eggs.
However, if you have smaller hens that don’t lay as many eggs, you may get away with one box per five or six hens.
Similarly, if you have heavy layers, you might want to add extra boxes to hold all those eggs.
4. Screw Three Panels to the Sides of the Floorboard
Take one of the 12-inch (30 cm) boards to use as the floor, and screw the other three wooden panels on the back and sides to act as the walls to the coop.
Make sure that screws aren’t sticking out in the nesting box, as it can injure your hens. If you find that nails are sticking out, either remove and relocate them or gently hammer the sharp ends back.
5. Add the Roof Board to Make a Cube
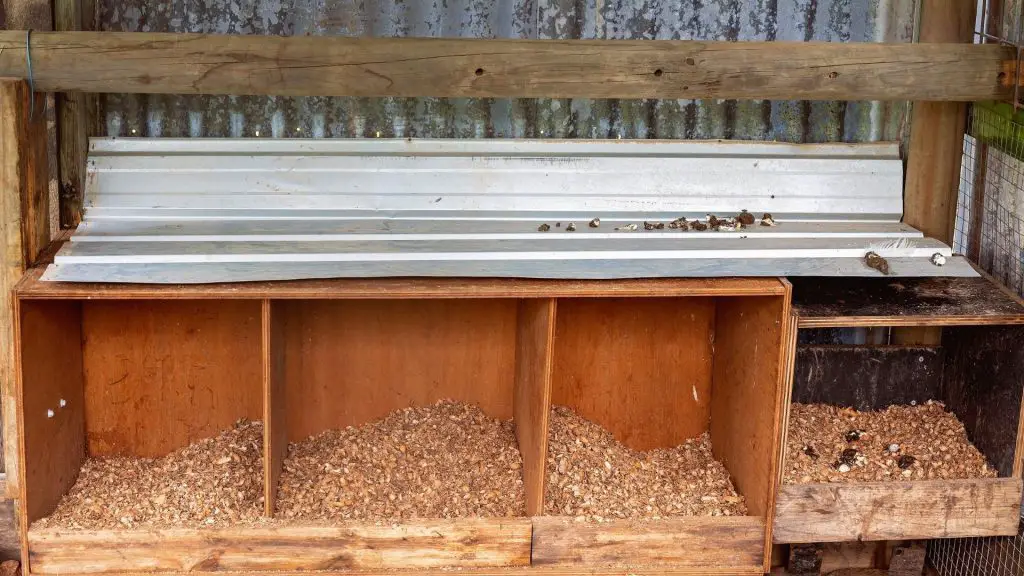
Take another 12-inch (30 cm) board and attach it to the top of the structure that you’ve just built. Be sure that the edges are flush and that no screws are hanging out.
At this point, you should have a wooden cube with one entire side left open. This is where the smaller wooden panel comes in.
6. Attach the Last Panel to the Open Side
Take the cedar panel that is 4-6 inches (10-15 cm) tall and 12 inches (30 cm) wide, and attach that to the front of the nesting box on the bottom.
Above the panel should be an open space where your chickens can quickly get in and out.
This design will prevent eggs from falling out of the nesting box, and it will provide seclusion for your hens while they are laying eggs.
Benefits of Using a Nesting Box
Whether you only have a few hens or own dozens, nesting boxes are essential for taking care of your hens.
Here are some of the biggest benefits of using a nesting box:
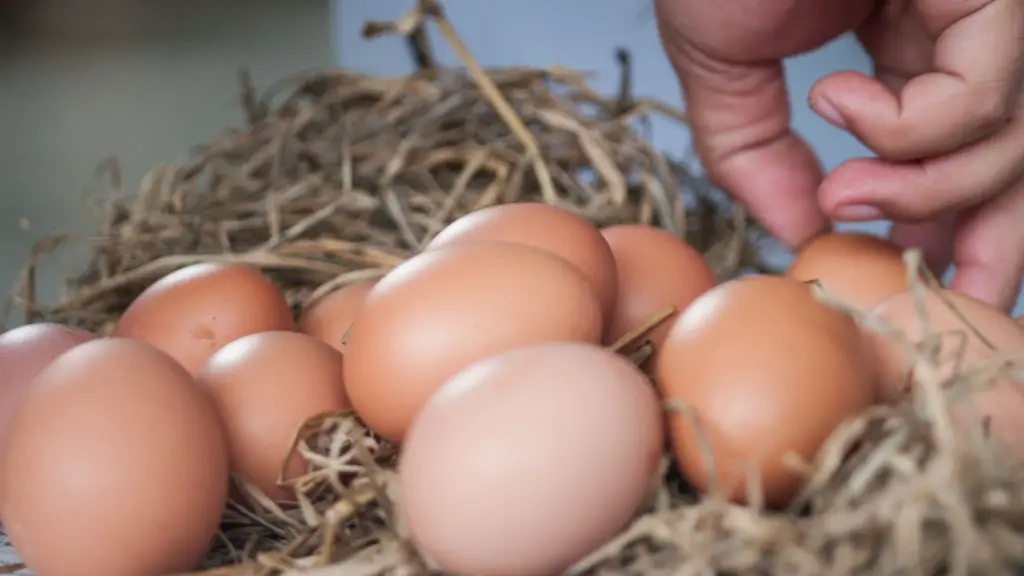
- They provide a central location for you to collect your eggs. Once your chickens have acclimated to the nesting boxes, you will know where to check for eggs every day.
- It is easy to identify a “broody” chicken when you have nesting boxes. When a hen is broody, it thinks it needs to raise chicks, so it stops laying eggs, becomes territorial, and will either guard one of the nesting boxes or find another spot in the coop area to make a nest.
- It gives your chickens a secluded spot to lay their eggs. Especially with the wooden panel, your hens will be able to lay eggs in seclusion with a nesting box.
What to Put in Chicken Nesting Boxes?
To help your chickens understand that they need to start laying and make the laying process more comfortable, you will need to buy a couple of things to get started.
You will need to put bedding and either fake eggs or golf balls inside the chicken nesting boxes for the first couple of weeks. This will help the hens understand that they need to start laying in that particular spot.
Bedding for your chickens could be either hay or wood shavings, which will be discussed in the next section.
What Is the Best Bedding for Chicken Nest Boxes?
When you are getting your chickens acclimated to the nesting box, you may be wondering which bedding will work best.
The best bedding for chicken nest boxes is pine wood shavings, as wood shavings are cost-effective and the most absorbent. Buy pine wood shavings instead of cedarwood shavings because cedar typically contains natural oils that are dangerous to chickens.
Additionally, you can use hay or straw for nest box bedding. If you already have some on hand, this will be especially useful. For hay and straw, take enough for the nesting box, and form a nest shape, where the eggs can be in the center.
How Often to Clean Chicken Nest Boxes?
Cleanliness is essential for chicken nesting boxes as having an unsanitary nest can create an accumulation of fumes that can be dangerous to your chickens, not to mention that it’s inhumane.
You should remove chicken excrement daily and replace bedding multiple times a week. One important thing to remember is that you shouldn’t allow the chickens to lay on top of their own excrement.
Keeping a chicken coop regularly clean will also keep your chickens happier, promoting more egg growth.
How to Clean Chicken Nest Boxes?
The process for cleaning nesting boxes is relatively straightforward, yet it is a critical step in maintaining nesting boxes and keeping your chickens happy.
Here are some essential things to know about cleaning chicken nest boxes:
- For heavily stained spots or hard to reach areas, you need to start by scraping out any excrement and taking out the bedding. You may have to find a scraping tool for this, as there may be dried excrement that’s hard to get off.
- Once this has been done, you can spot clean the stained area using soap and water. Clean the corners of the chicken coop and get in all of the hard-to-get areas.
- Finally, take new bedding (either hay, straw, or wood shavings), and put it back in the nesting box.