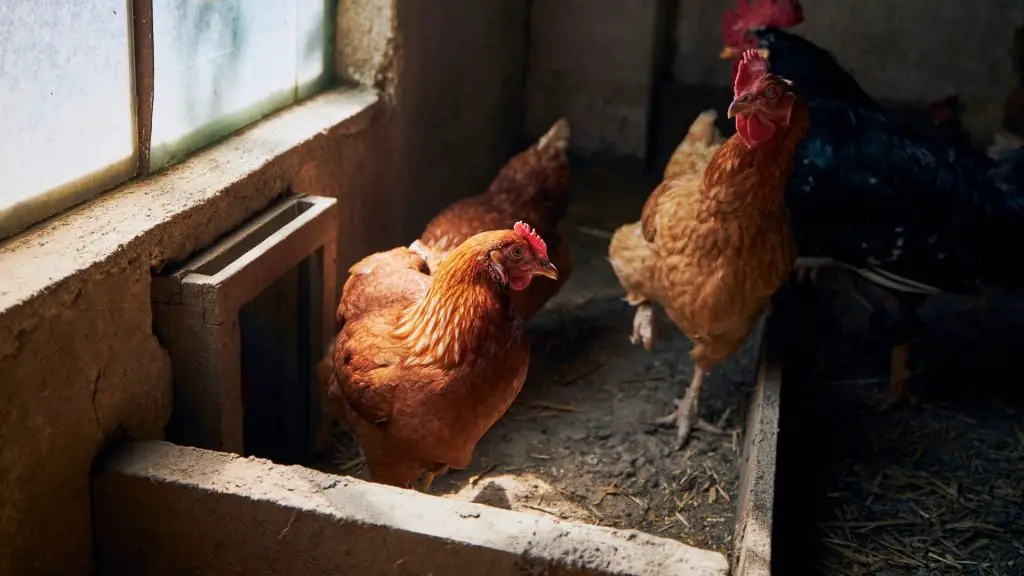
Winter is the time of the year where you’re going to want to know how to heat a chicken coop because while chickens do well in a wide variety of weather, the winter months tend to be a bit much and can cause them distress. When chickens are distressed, they reduce the number of eggs they produce. So, how do you heat a chicken coop?
Here’s how you can heat a chicken coop:
1. Add winter bedding.
2. Use pine shavings, cardboard, or insulated foam.
3. Install heat lamps.
Being a farmer or just an avid chicken owner means that it’s your responsibility to keep your feathery friends comfortable. Luckily, keeping them warm doesn’t require too much effort. Read on to learn all the information you’d need to keep your chicken coop heated.
Do Chicken Coops Need to Be Heated?

Chicken coops don’t need to be heated. Chickens are naturally cold-hardy, and their feathers can keep them insulated between 45 – 65°F (7.22 – 18.33°C). However, winter climates can be too cold for them, so that extra heating may be necessary.
A handful of factors may influence whether or not you should consider heating in your coop.
If you aren’t located near the equator, then there’s a high chance that your coop needs to be heated. Not only will a warm coop motivate your chicken to produce more eggs, but it’ll also keep their moods stable.
Another important element at play will be the weather. While snow is a prominent factor in winter, both rain and wind can also play a part in your chicken’s comfort. The coop could experience a drop in temperature during rainy seasons or wind if not insulated well.
Now that you’ve already learned why a chicken coop needs to be heated, it’s time to explore the different ways you can heat a coop. Some may be a bit tedious, but the pay-off will make a massive difference for you and your chickens.
How to Heat a Chicken Coop Without Electricity?

Heating a chicken coop without electricity can be a bit tricky but not impossible. Many farmers choose to opt for non-electric methods due to them being affordable and safer. Whether you want to avoid electricity due to wiring or reduce your risk of a fire, these methods can help you keep a coop warm.
1. Add Winter Bedding

With the addition of bedding, a chicken coop can last throughout the winter without electricity.
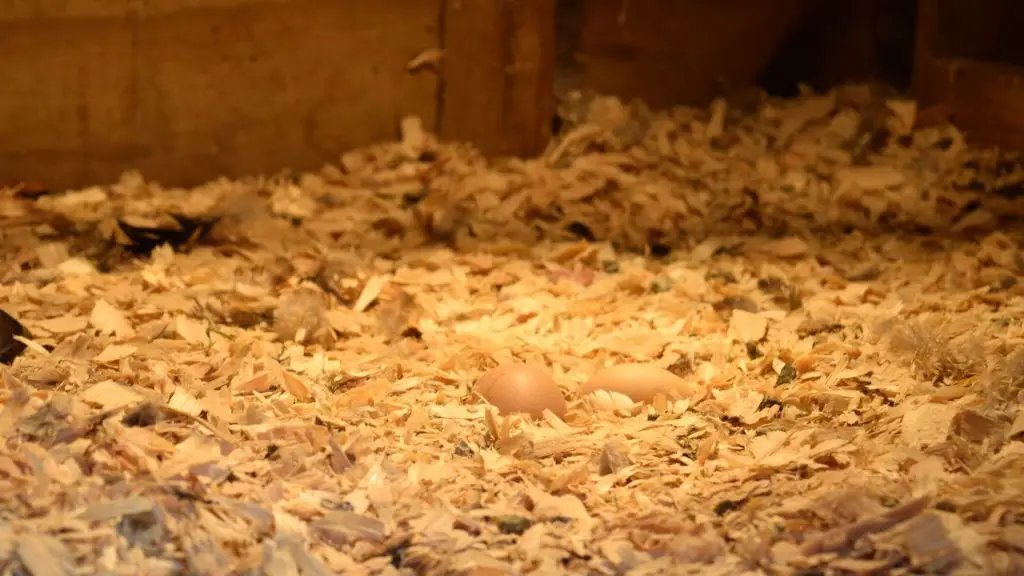
According to The Ohio State University, it’s best to use a straw, sand, wood chips/shavings, soft hay, ground corn cobs, or shredded paper due to their ability to retain heat. Both of these materials work well at keeping a building insulated by trapping the heat inside.
Here’s how to add winter bedding to your chicken’s coop:
Step 1: Remove all new bedding and clean the floors of the coop.
Step 2: Add your choice of bedding to the bottom of the coop up to a foot deep and spread evenly.
Step 3: Deepen the bedding only if necessary, as it can cause the coop to become humid.
Step 4: Turn your bedding weekly using a pitchfork and keep it fluffed.
2. Use Pine Shavings, Cardboard, or Insulated Foam
One of the other methods to heating your chicken coop in the winter is to add insulation. A popular method used by professional farmers includes the deep litter method, which doesn’t waste insulation and is very effective at trapping heat inside.
Pine Shavings
Here’s how to insulate your chicken’s coop using pine shavings or organic matter:
Step 1: Start by laying down some pine shavings or other organic matter.
Step 2: From there, you’ll want to spread it out over the floor until it’s two inches thick.
Step 3: Allow your chicken’s coop to accumulate waste.
Step 4: Repeat the process of laying down more bedding on top of the chicken’s waste every week.
Step 5: When the coop’s pine shavings reach six inches (152.4 mm), remove the shavings and start again.
While the deep litter method is an affordable option, you could always go a step further by adding insulation to your chicken coop walls. There are two different methods for this, and we find that this method is more expensive but produces better insulation.
Cardboard
Here’s how to insulate your chicken’s coop using cardboard or extruded polystyrene:
Step 1: Remove the chickens and clean the coop from top to bottom.
Step 2: Spread Diatomaceous Earth near the areas where you’ll be putting up insulation as this will help prevent bugs from growing.
Step 3: Measure the distance between the beams and mark down the dimensions.
Step 4: Cut your cardboard or extruded polystyrene to the fitted dimensions and staple them to the beams on two sides.
Step 5: Stuff your cardboard pocket with hay or straw.
Step 6: Staple the remaining sides and repeat until the entire coop is insulated.
Step 7: Cut out holes to put perches into the perch holders.
Insulated Foam
The last method to insulate a chicken coop is to use closed-cell spray foam. This method helps seal in heat and prevents cool areas from creeping in. This method is highly recommended for people living in windy climates.
Here’s how to insulate your chicken’s coop using closed-cell spray foam:
Step 1: Clean out the entire chicken coop and keep the chickens outdoors.
Step 2: Spray the closed cell spray foam at 2 inches (50.8 mm) at any seam.
Step 3: Allow the coop to dry all day before transferring everything back into it.
Step 4: Cover up where you sprayed the foam, as chickens may be prone to peck at it.
Insulated foam is the best way to keep the draft out and heat inside the coop. The foam creates an air seal and is highly durable. Hence, it’ll be strong enough to last the whole year.
Related: How to Insulate a Chicken Coop? | Tips and Guide
How To Heat a Chicken Coop Using Electricity?

Install Heat Lamps
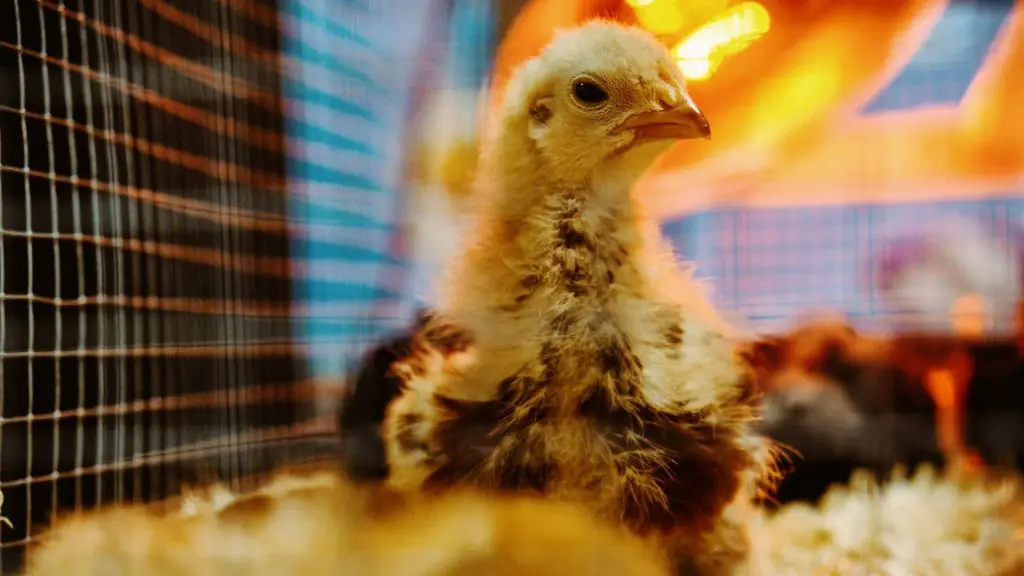
The only electric option to help heat a coop during the cold months is to install a heat lamp. However, many farmers warn against using one because if they’re improperly used, the lamp can start a fire.
So, if you choose to use a heat lamp, you must be very careful and use the heat lamp as directed by the manufacturer.
How to Install Heat Lamp in Chicken Coop?
While heat lamps are an excellent method to keep your chickens warm, they pose a fire hazard.
To prevent coop fires, it’s best to secure the heat lamp using extra materials, as it’ll prevent it from getting knocked down or tipping over.
Here’s how you can install a heat lamp safely:
Step 1: Clear out a small area under the roost, and make sure that there’s no bedding, shavings, or flammable material.
Step 2: Clamp the heat lamp onto the side or on the ceiling of the chicken coop.
Step 3: Secure the heat lamp with either a chain or zip tie to avoid falling.
Step 4: Check to see if it works and check on the heat lamp regularly.
Heat Lamp Safety Concerns
A heat lamp is generally frowned upon in the farming community due to the lamp being a high risk for potential fires. To prevent fires, there are a handful of precautions you can take to reduce the risk.
The National Fire Protection Association has recommended a few of these safety tips:
- Ensure that the heat lamps are appropriately secured and don’t rely on the spring clamp alone.
- Only place heat lamps on sturdy surfaces so that they won’t get knocked down.
- Move all flammable materials and keep the heat lamps away from any materials.
- Clear out any cobwebs and dust that builds upon the light fixtures regularly.
- Make sure to use light bulbs with covers as it will help prevent dirt from collecting on them.
- Avoid using extension cords if possible.
- Only choose agricultural or commercial heating lamps as they are safer.
List of Sources
Winter and Your Backyard Chickens
